
Add a Section
To add a section to the Master Schedule, click Add.
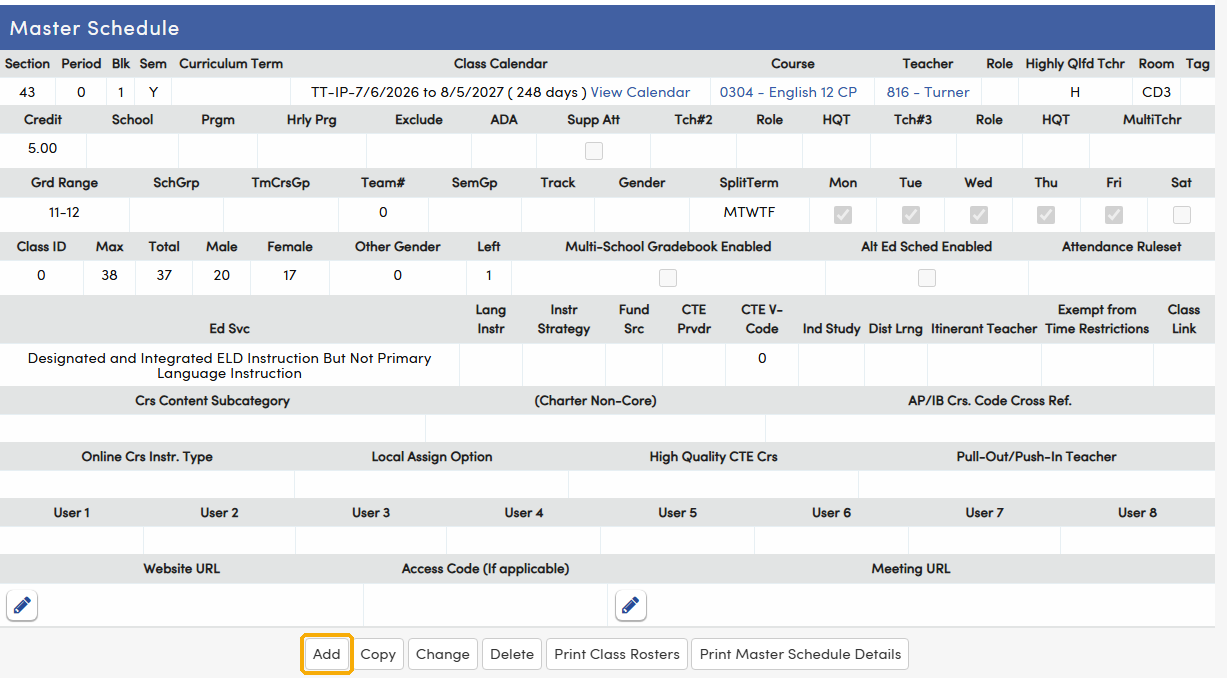
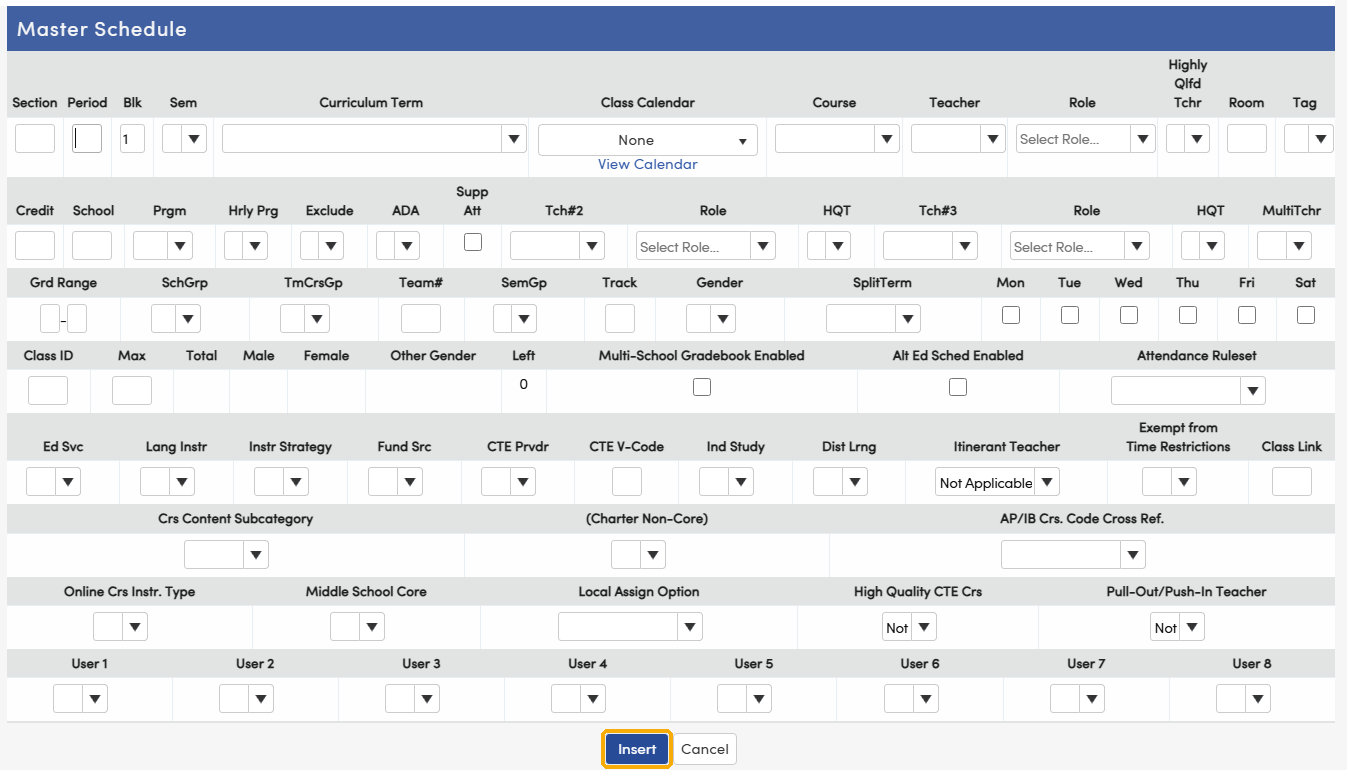
To complete the new section:
- Enter the Period, Block, and Term. The Section Number auto-populates with the next available section number for the period.
- Select the Class Calendar, if it applies.
- Select the Course from the drop-down.

To finish the new section:
- Select the Teacher assigned to the class.
- Use Tab to move through the form and complete the remaining fields, such as Room, Credits, and Class Maximum.
- Click Insert to add the class to the Master Schedule.
Class Link ↑
The Class Link field (CL) links two sections, such as Fall and Spring sections, by using the same value in both sections.
- The sections are linked when matching values exist in two sections.
- When a user selects one of the sections using the View MST button on the Classes page, Aeries adds both linked sections to the student's schedule (SEC).
- The field holds a maximum of six alphanumeric characters.

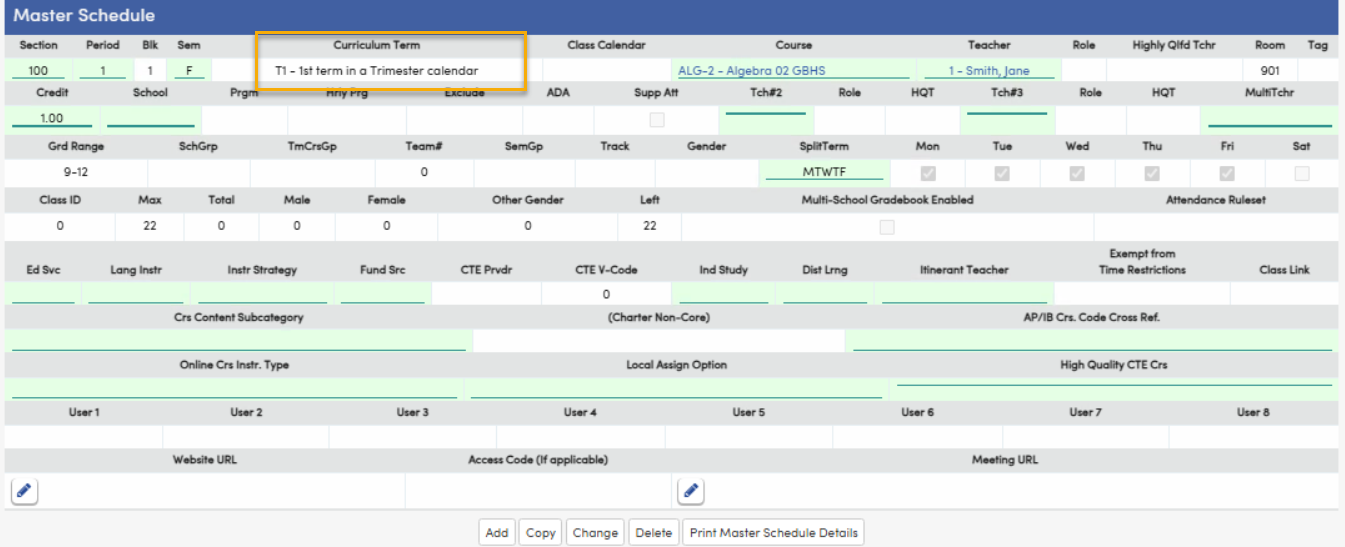
Curriculum Term ↑
The Curriculum Term field (CTM) is an optional field in California used to identify the California College Guidance Initiative (CCGI) curriculum. This field only needs to be populated if the curriculum for this section is different than the enrolled term (TM). The Curriculum Term (MST.CTM) will copy to the Transcript (HIS) running the Copy Grades to Transcript function. See CCGI Supporting Pages and Tables.
Change a Section ↑
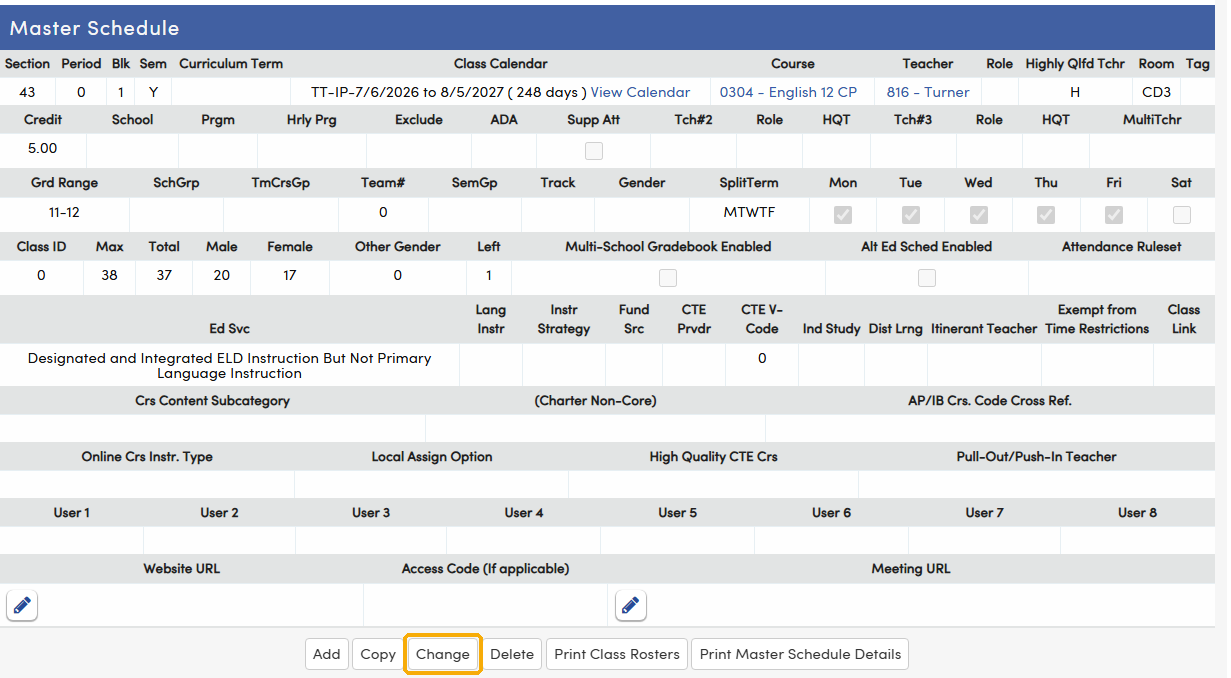
To change a section, search for the section and click the Section Number.

Click Change, enter the changes, then click Save.
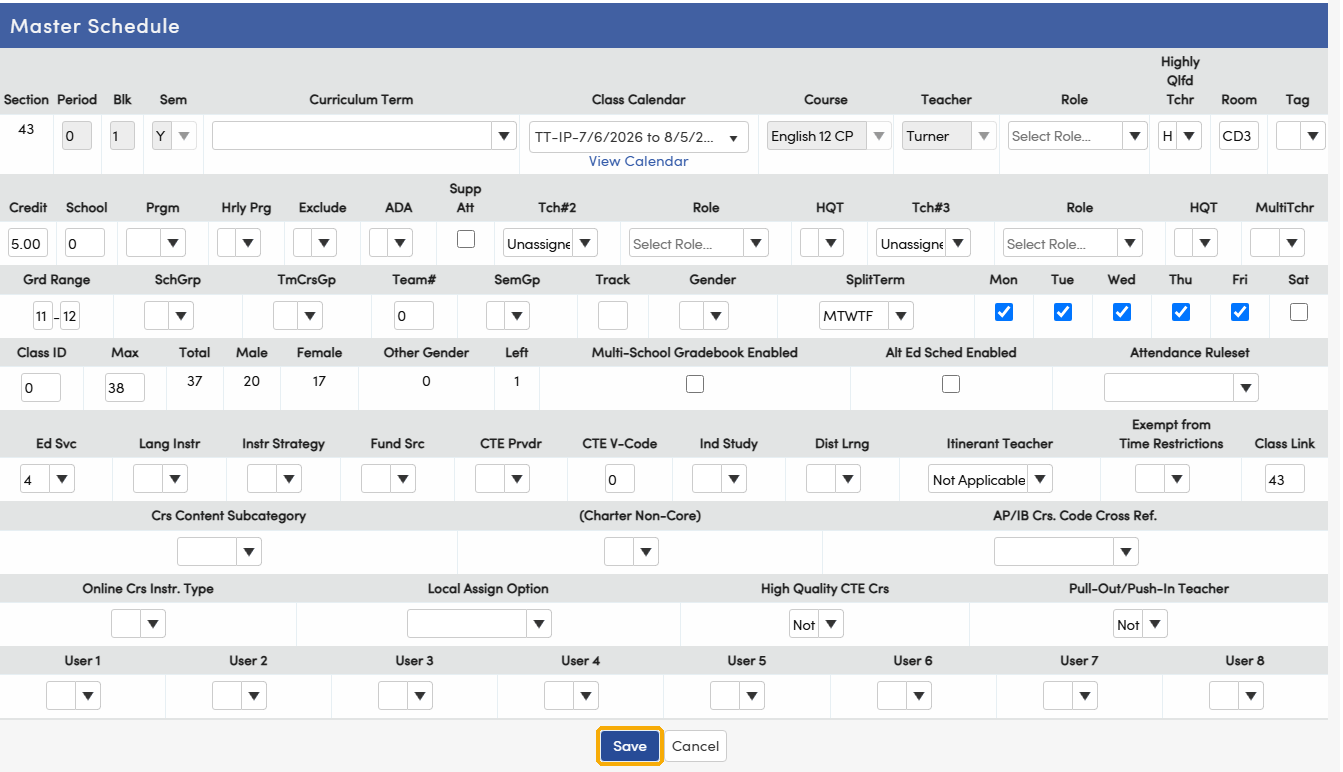
NOTE: Changes cannot be made to the Section Number, Period, Block, Semester, Course ID, or Teacher fields once Attendance and CAR are activated.
Copy a Section ↑
Copy creates a new section with the same information as the selected section. It can also copy or move students into the new section.
Select the section to copy and click Copy.
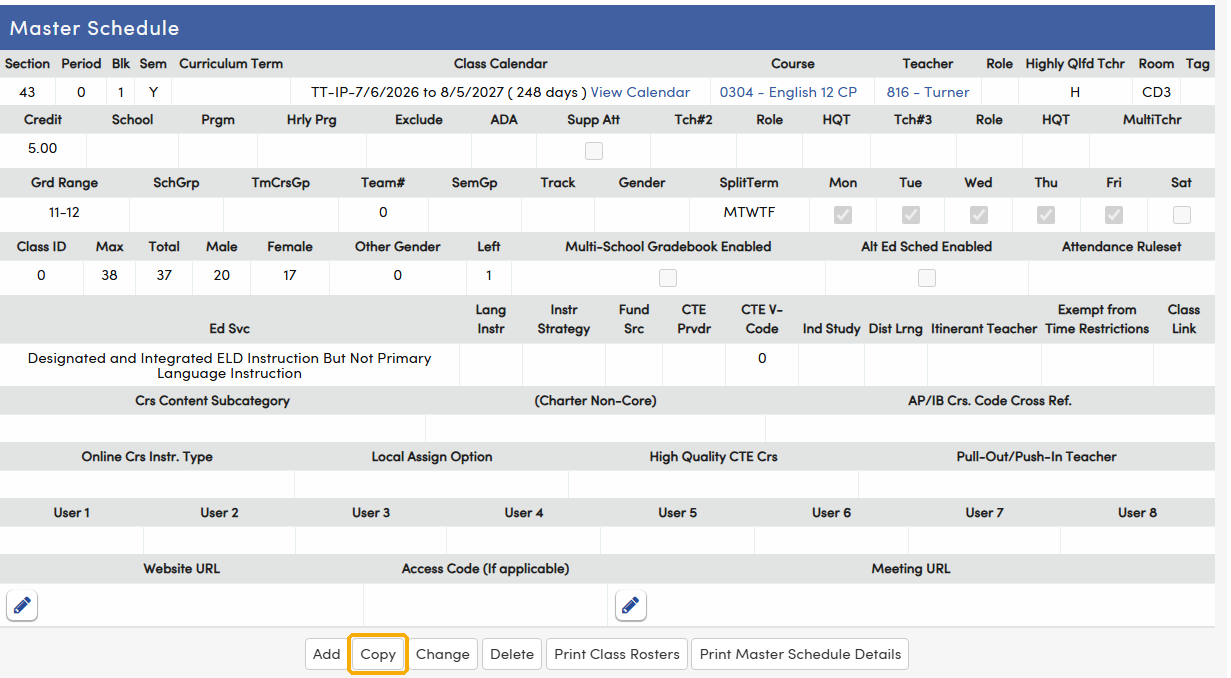
A confirmation message is displayed. Click OK to continue.

A selection box is displayed and defaults to Do not copy/move Students. Select an option and click OK.

NOTE: The Copy Tagged Students and Move Tagged Students options tag each student who is copied or moved with a print tag (STU.PT = X) and clear the student's query tag (STU.QT).
The information from the selected section is displayed in a new section.
- Enter or update data in the fields.
- Click Insert to add the class to the Master Schedule.
In the example below, Section Number 1024 - English 12 CP is copied in the same period but assigned to Teacher Iliff. The Section Number is auto-populated.

If a copy or move students option is selected, a message at the bottom of the new section shows that students are being copied. After Insert completes, the students are enrolled in the new section and are displayed at the bottom of the form.


Delete a Section ↑
Delete removes unused sections, with no students enrolled, from the Master Schedule.
- Select the section to delete and click Delete.
- A confirmation message is displayed. Click OK to delete the section.

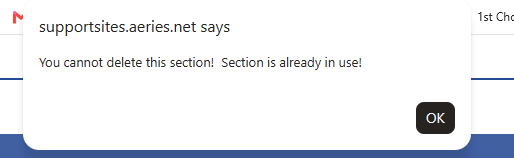
If students are enrolled in the section or other tables reference it, the following message is displayed and the section is not deleted.